Why You’ll Love This Recipe
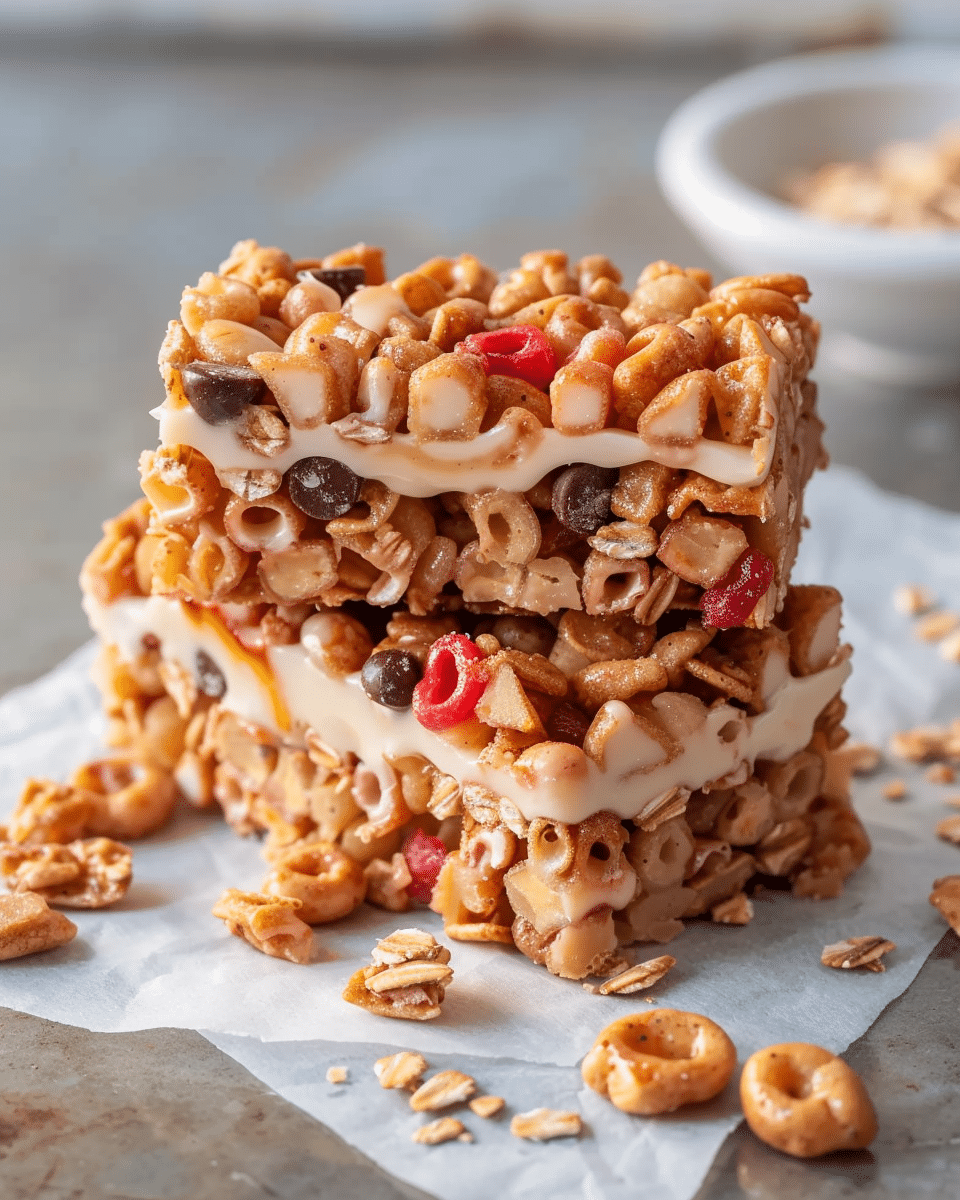
If you love snacks that are both satisfying and easy to make, you’ll enjoy these cereal bars. They’re versatile, allowing you to choose your favorite cereal and nut butter, and you can even add protein powder to give them an extra nutritional boost. With the combination of chewy texture, natural sweetness, and the ability to cater to various dietary preferences, these bars are bound to become a staple in your snack rotation.
Ingredients
- 3 cups cereal of choice
- 2/3 cup peanut butter or nut butter of choice
- 1/2 cup agave, honey, or brown rice syrup
- optional 1/2 tsp salt
- optional 3 tbsp protein powder
(Tip: You’ll find the full list of ingredients and measurements in the recipe card below.)
Directions
- In a medium saucepan, heat the peanut butter (or nut butter) and agave (or honey) over low heat until fully melted and combined, stirring occasionally.
- Once melted, remove from heat and mix in the optional salt and protein powder if desired.
- Add the cereal to the mixture and stir until all the cereal is evenly coated.
- Line a baking dish with parchment paper and transfer the cereal mixture into the dish. Press down firmly to create an even layer.
- Allow the mixture to cool completely at room temperature, then place it in the refrigerator for at least 30 minutes to set.
- Once set, cut into bars and enjoy!
Servings and Timing
This recipe makes approximately 8-10 bars, depending on the size you cut them.
- Prep time: 10 minutes
- Cooling time: 30 minutes
- Total time: 40 minutes
Variations
- Vegan: Use maple syrup and a plant-based nut butter like almond or cashew butter.
- Gluten-free: Choose a gluten-free cereal, such as rice puffs or gluten-free cornflakes.
- Protein Boost: Add an extra scoop of protein powder for a higher protein content.
- Nut-Free: Replace peanut butter with sunflower seed butter or another nut-free butter for a safe snack option.
- Add-ins: Consider adding chocolate chips, dried fruits, or seeds for extra flavor and texture.
Storage/Reheating
Store these cereal bars in an airtight container at room temperature for up to one week. For longer storage, you can refrigerate them for up to two weeks. These bars are not ideal for freezing, as they may lose their texture once thawed.
FAQs
How long do these cereal bars last?
These cereal bars can be stored at room temperature for up to one week or refrigerated for up to two weeks.
Can I make these bars gluten-free?
Yes, just use a gluten-free cereal, like rice puffs or gluten-free cornflakes.
Can I use a different type of sweetener instead of agave?
You can replace agave with honey, maple syrup, or brown rice syrup, depending on your preference.
How can I make these cereal bars more filling?
You can add protein powder to increase the protein content, or incorporate nuts and seeds for additional fiber and healthy fats.
Can I make these bars without peanut butter?
Yes, you can substitute the peanut butter with almond butter, cashew butter, or sunflower seed butter if you prefer.
How thick should I press the mixture into the baking dish?
Press the mixture firmly to create an even layer, about 1/2 inch to 1 inch thick, depending on your desired bar thickness.
Can I add chocolate chips to the cereal bars?
Absolutely! Chocolate chips can be stirred in after the mixture has cooled slightly for a sweet touch.
Can I add dried fruit to these bars?
Yes, dried fruits like cranberries, raisins, or apricots can be mixed in for extra flavor and texture.
Can I make these bars without protein powder?
Yes, protein powder is optional. You can omit it entirely or replace it with other nutritional additives like chia seeds or flaxseed meal.
How do I cut the cereal bars into perfect squares?
After the bars have cooled and set, use a sharp knife to cut them into squares or rectangles of your preferred size.
Conclusion
These cereal bars are a fantastic homemade snack option that can be tailored to your dietary needs and taste preferences. With just a few ingredients and minimal effort, you can create a delicious and nutritious treat that’s perfect for any time of day. Try making these today and enjoy a quick, wholesome snack that’s packed with energy!
Print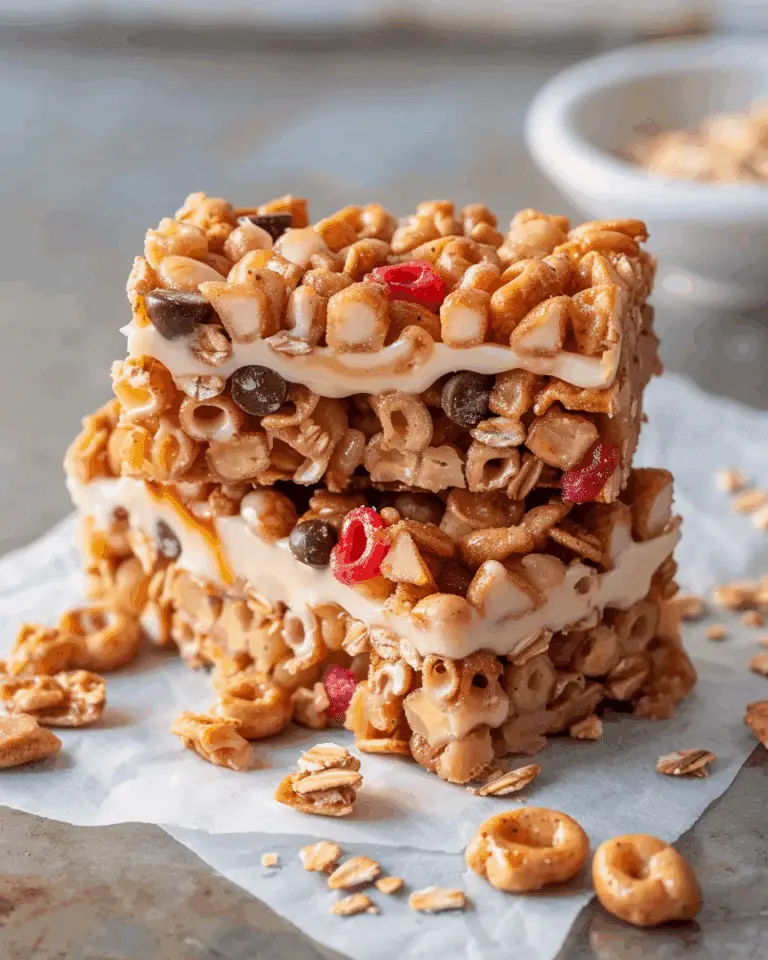
Cereal Bars
- Total Time: 40 minutes (including cooling time)
- Yield: 8-10 bars
Ingredients
3 cups cereal of choice
2/3 cup peanut butter (or nut butter of choice)
1/2 cup agave, honey, or brown rice syrup
Optional: 1/2 tsp salt
Optional: 3 tbsp protein powder
Instructions
-
In a medium saucepan, melt the peanut butter and agave (or honey) over low heat, stirring occasionally.
-
Once melted, remove from heat and stir in the optional salt and protein powder, if using.
-
Add the cereal to the mixture and stir until it is fully coated.
-
Line a baking dish with parchment paper and transfer the mixture into the dish. Press down firmly to create an even layer.
-
Allow the mixture to cool to room temperature, then refrigerate for at least 30 minutes to set.
-
Once set, cut into bars and enjoy!
Notes
Store these cereal bars in an airtight container at room temperature for up to a week or in the fridge for up to two weeks.
For a nut-free option, replace peanut butter with sunflower seed butter.
These bars are best consumed fresh and are not ideal for freezing.
Customize with chocolate chips, dried fruit, or seeds for added flavor.
- Prep Time: 10 minutes
- Category: Snack, Breakfast
- Method: No-bake
- Cuisine: American
- Diet: Vegan

