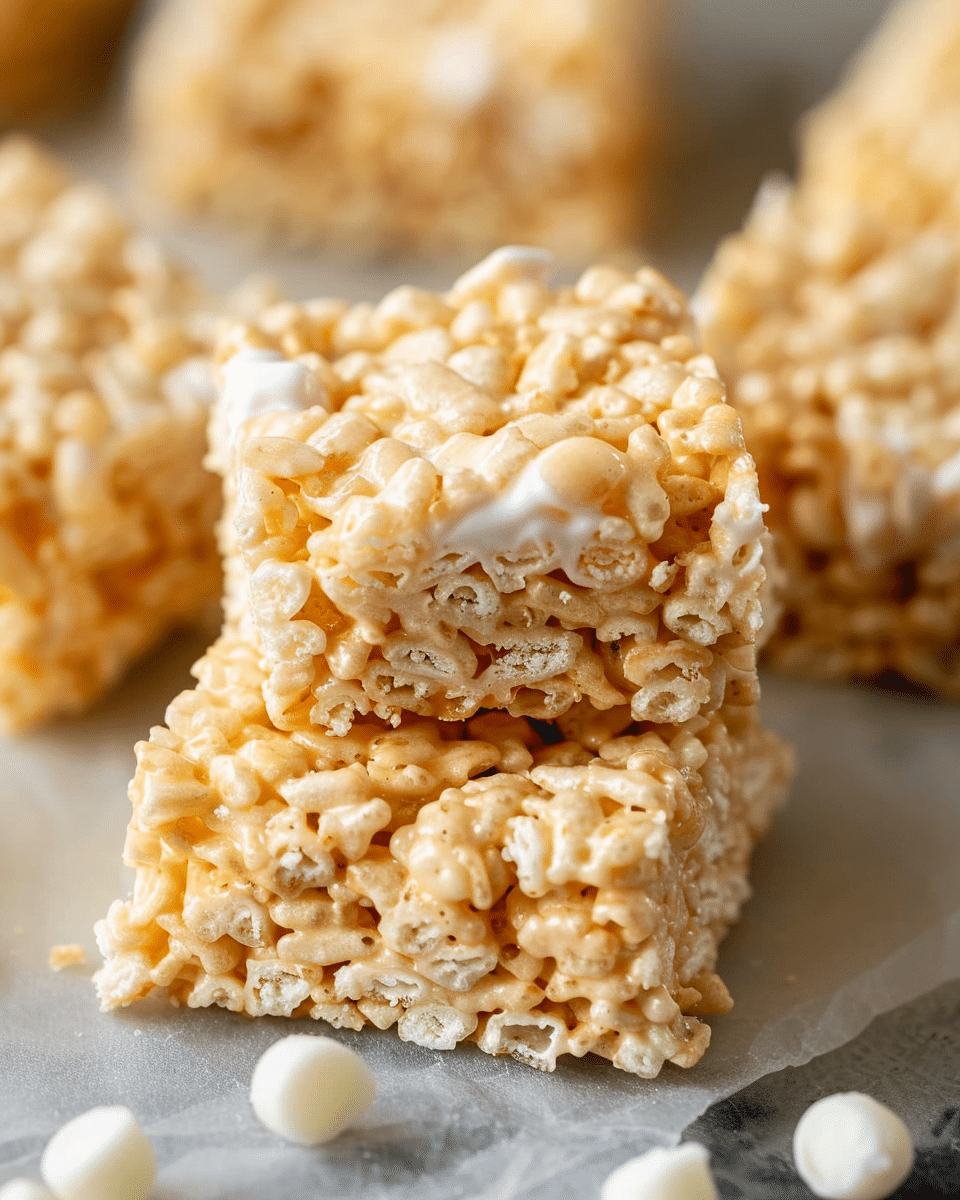
I love how these rice krispie treats turn out soft, chewy, and perfectly gooey. They’re the kind of classic no-bake dessert that always takes me back to childhood. With buttery flavor, loads of marshmallows, and just the right amount of crunch, these are truly the best version of this nostalgic treat.
Why You’ll Love This Recipe
I like this recipe because it has the perfect balance of marshmallow and cereal. The extra marshmallows make the bars extra soft and gooey, while the butter adds a rich flavor that keeps them from tasting overly sweet. I also love how quick they are to prepare, making them ideal for last-minute snacks, bake sales, or parties.
Ingredients
(Note: All ingredient amounts are listed in the recipe card below.)
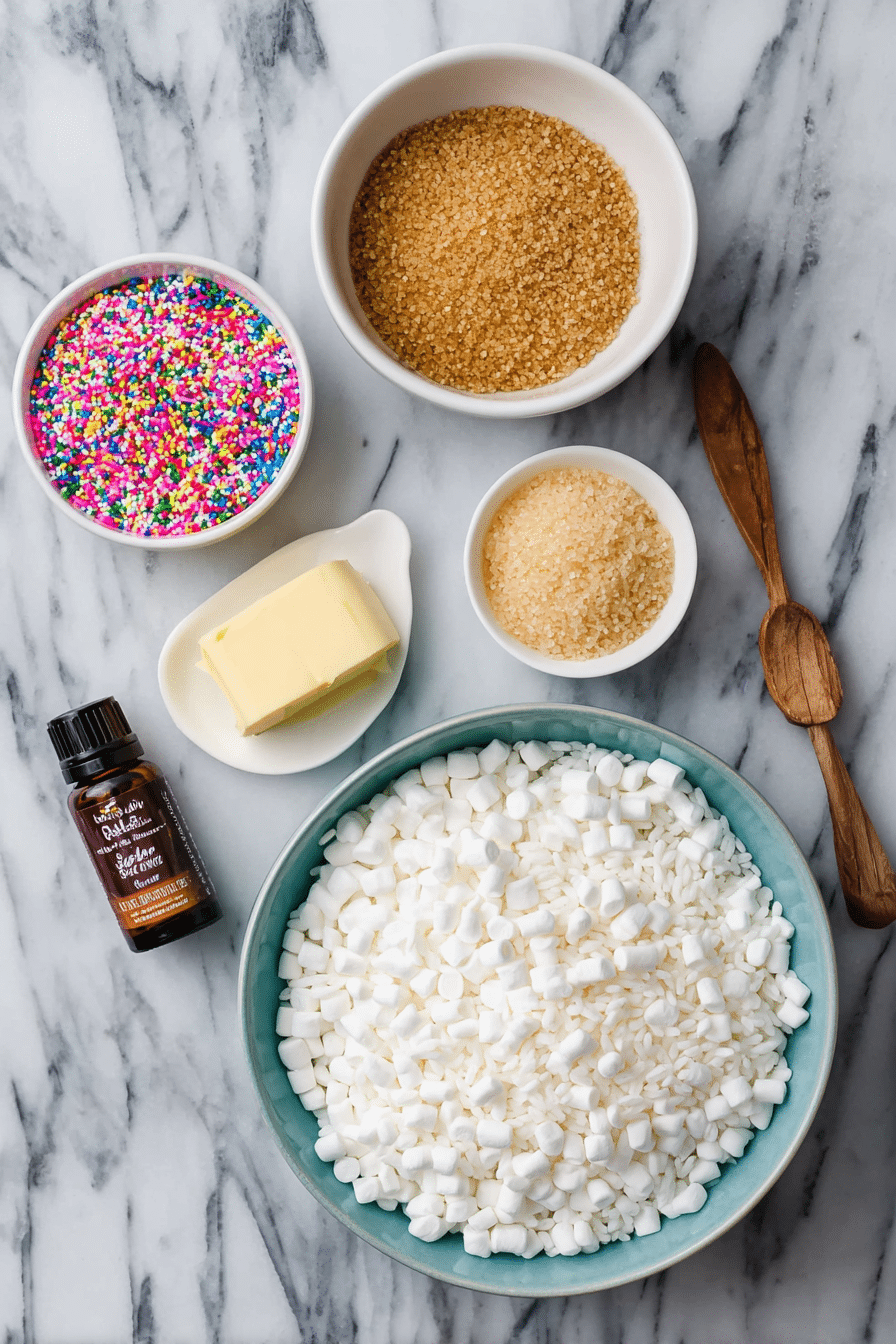
▢6 Tablespoons (85 g) salted butter*, cut into 6 pieces (I strongly recommend European butter)
▢15 oz (425 g) miniature marshmallows this is generally 1 ½ 10-oz bags, or 8 ½ cups
▢1 teaspoon pure vanilla extract
▢6 cups (175 g) Rice Krispies cereal
▢3 Tablespoons colored sprinkles optional
Directions
- I start by greasing a 9×13-inch pan with butter or nonstick spray and set it aside.
- In a large pot over low heat, I melt the butter until smooth.
- I add the marshmallows and stir continuously until they are completely melted and combined with the butter.
- I remove the pot from the heat and stir in the vanilla extract.
- I quickly add the Rice Krispies cereal and fold gently until the cereal is evenly coated.
- I transfer the mixture into the prepared pan and press it down lightly with a buttered spatula or parchment paper. I make sure not to press too firmly so the treats stay soft.
- If using, I sprinkle the top with colored sprinkles and gently press them in.
- I let the bars cool completely at room temperature before cutting into squares.
Servings and Timing
This recipe makes about 12–16 bars, depending on how I slice them. It usually takes me 10 minutes to prepare and about 30 minutes to set before serving.
Variations
Sometimes I stir in mini chocolate chips, crushed cookies, or candy pieces for a fun twist. I also like drizzling melted chocolate on top for extra indulgence. Around the holidays, I swap the sprinkles for seasonal colors to make them festive.
Storage/Reheating
I store rice krispie treats in an airtight container at room temperature for up to 3 days. I don’t refrigerate them because it makes them hard. If they start to firm up, I like microwaving a square for 5–8 seconds to soften it before eating.
FAQs
Can I use unsalted butter instead of salted?
Yes, I can, but I like the salted butter because it balances the sweetness of the marshmallows.
Can I make these with large marshmallows?
Yes, I can, but I cut them into smaller pieces first so they melt more evenly.
How do I keep the treats soft?
I avoid pressing the mixture too firmly into the pan and store them in an airtight container.
Can I double the recipe?
Yes, I double the ingredients and use a larger baking dish or make two batches.
Can I freeze rice krispie treats?
I don’t recommend freezing because they lose their soft and chewy texture.
Can I make them ahead of time?
Yes, I like making them a day in advance, and they stay fresh if stored properly.
What’s the best way to cut them cleanly?
I butter a sharp knife before slicing to keep the marshmallows from sticking.
Can I use other cereals?
Yes, I sometimes swap Rice Krispies with Cocoa Krispies or Fruity Pebbles for a fun variation.
Can I add peanut butter?
Yes, I melt a few tablespoons of peanut butter with the marshmallows for a nutty flavor.
How long should they cool before cutting?
I let them cool for at least 30 minutes so they hold their shape when sliced.
Conclusion
I love how easy and delicious these rice krispie treats are. They’re gooey, buttery, and packed with nostalgic flavor. Whether I make them plain or dress them up with sprinkles and chocolate, they always disappear fast at any gathering.
Print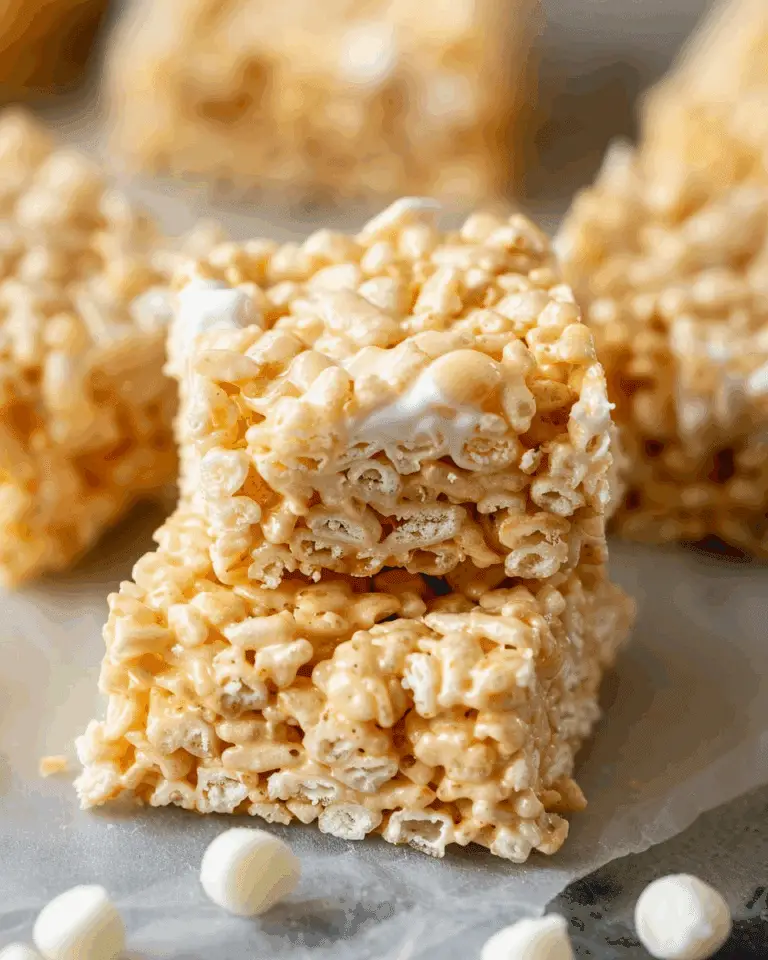
The Best Rice Krispie Treats
These Rice Krispie Treats are soft, chewy, gooey, and buttery everything you want in this nostalgic no-bake dessert. Perfect for parties, bake sales, or a quick homemade snack.
- Total Time: 40 minutes (includes cooling time)
- Yield: 12–16 bars
Ingredients
6 tablespoons (85 g) salted butter, cut into pieces
15 oz (425 g) miniature marshmallows (about 8 ½ cups)
1 teaspoon pure vanilla extract
6 cups (175 g) Rice Krispies cereal
3 tablespoons colored sprinkles (optional)
Instructions
- Grease a 9×13-inch pan with butter or nonstick spray and set aside.
- Melt butter in a large pot over low heat.
- Add marshmallows and stir until fully melted and smooth.
- Remove from heat and stir in vanilla extract.
- Fold in Rice Krispies cereal until evenly coated.
- Press mixture gently into prepared pan with a buttered spatula or parchment (don’t press too hard).
- Top with sprinkles if desired, pressing them lightly into the surface.
- Cool completely at room temperature before cutting into squares.
Notes
Use salted butter for the best flavor balance.
Large marshmallows can be used if cut into smaller pieces to melt evenly.
Do not press mixture too firmly to keep treats soft.
Store in an airtight container at room temperature for up to 3 days.
Microwave a square for 5–8 seconds if they firm up.
- Prep Time: 10 minutes
- Cook Time: 5 minutes
- Category: Dessert
- Method: No Bake
- Cuisine: American
- Diet: Vegetarian
Nutrition
- Serving Size: 1 bar
- Calories: 160
- Sugar: 16 g
- Sodium: 115 mg
- Fat: 4 g
- Saturated Fat: 2.5 g
- Unsaturated Fat: 1 g
- Trans Fat: 0 g
- Carbohydrates: 31 g
- Fiber: 0 g
- Protein: 1 g
- Cholesterol: 10 mg

