Why You’ll Love This Recipe
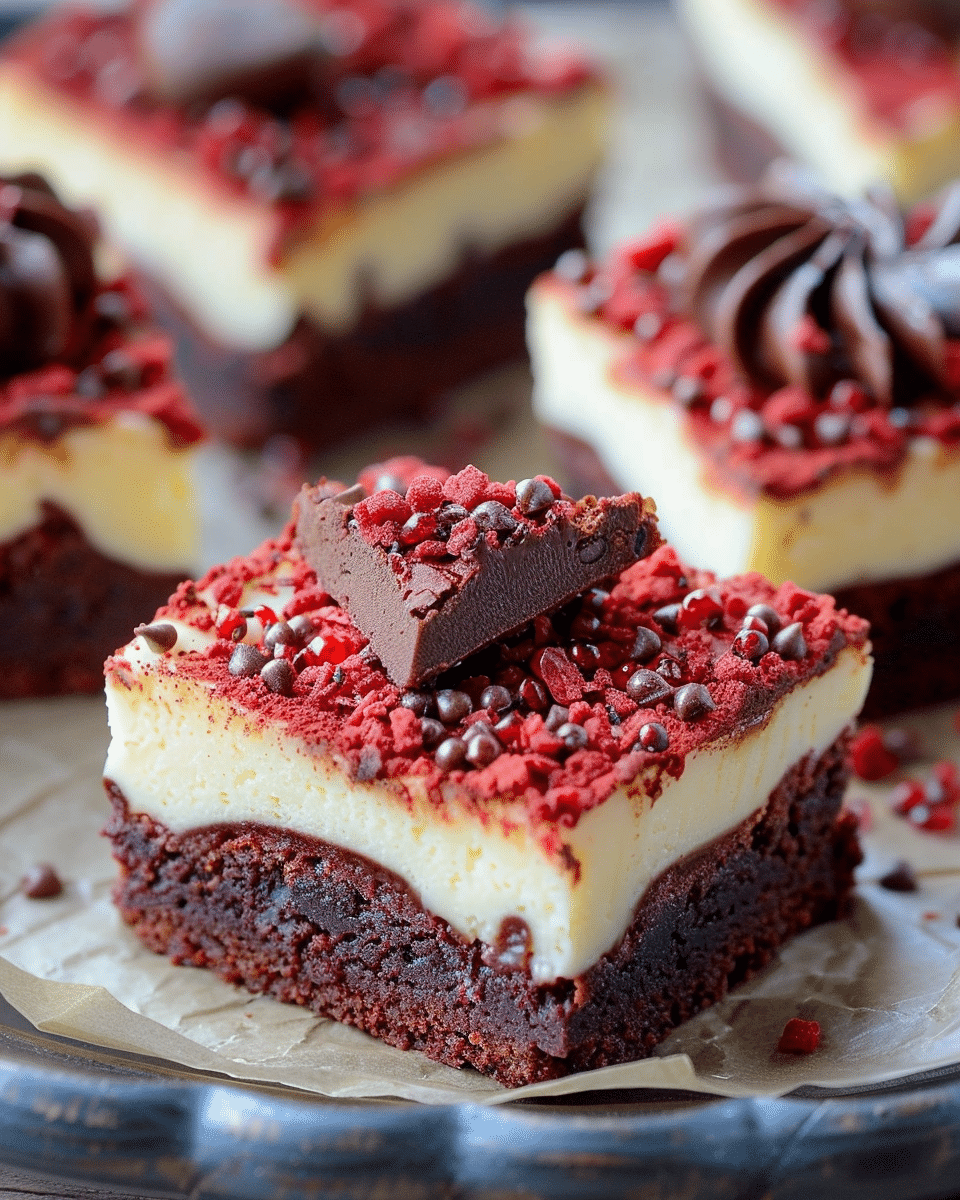
The swirls of creamy cheesecake within the fudgy red velvet brownies give these treats a unique and indulgent texture. The slight tang from the cream cheese perfectly complements the sweetness of the red velvet brownie, creating a rich and balanced flavor. Plus, the vibrant red color and swirled layers make these brownies visually stunning, perfect for parties, holidays, or any time you want to impress!
Ingredients
For the Brownie Layer:
- 1/2 cup (1 stick) unsalted butter, melted
- 1 cup granulated sugar
- 1/4 cup unsweetened cocoa powder
- 1 tablespoon red food coloring
- 1 teaspoon vanilla extract
- 1/2 teaspoon white vinegar
- 2 large eggs
- 3/4 cup all-purpose flour
- Pinch of salt
For the Cheesecake Layer:
- 8 oz cream cheese, softened
- 1/3 cup granulated sugar
- 1 egg yolk
- 1/2 teaspoon vanilla extract
(Tip: You’ll find the full list of ingredients and measurements in the recipe card below.)
Directions
1. Preheat the Oven:
Preheat your oven to 350°F (175°C). Grease and line an 8×8-inch square baking pan with parchment paper for easy removal of the brownies.
2. Make the Brownie Layer:
In a large mixing bowl, whisk together the melted butter and sugar until smooth. Add the cocoa powder, red food coloring, and vanilla extract, stirring until well combined.
Add the eggs, one at a time, beating well after each addition. Stir in the white vinegar and a pinch of salt. Finally, fold in the flour until just combined—be careful not to overmix.
3. Prepare the Cheesecake Layer:
In a separate bowl, beat the softened cream cheese and sugar until smooth and creamy. Add the egg yolk and vanilla extract and mix until well incorporated.
4. Assemble the Brownies:
Pour the brownie batter into the prepared baking pan, spreading it evenly. Next, spoon dollops of the cheesecake mixture on top of the brownie batter. Use a knife or a skewer to gently swirl the cheesecake into the brownie batter, creating a marbled effect.
5. Bake the Brownies:
Bake for 30-35 minutes or until a toothpick inserted into the center comes out with just a few moist crumbs. Be careful not to overbake, as you want the brownies to remain fudgy.
6. Cool and Slice:
Allow the brownies to cool completely in the pan before slicing into squares. For the best texture and flavor, let the brownies sit for at least an hour before serving.
Servings and Timing
- Prep time: 15 minutes
- Cook time: 30-35 minutes
- Total time: 45-50 minutes
- Yield: 9-12 brownies (depending on the size of your slices)
Notes
- Food Coloring: You can adjust the amount of red food coloring depending on how vibrant you want the red velvet to appear. If you prefer a more natural option, you can use beet juice or powder for coloring, but the color may vary slightly.
- Cheesecake Consistency: Be sure to beat the cream cheese mixture until smooth to avoid lumps in the cheesecake layer.
- Texture: These brownies are best served when they’ve cooled completely, allowing the cheesecake swirl to set properly.
Variations
- Chocolate Chips: Add a handful of semi-sweet chocolate chips to the brownie layer for extra richness.
- Nutty Version: Add chopped pecans or walnuts to the brownie batter for a bit of crunch.
- White Chocolate Version: Replace the cheesecake layer with a white chocolate cheesecake mixture for a twist on the classic red velvet combination.
Storage/Reheating
Store leftover brownies in an airtight container at room temperature for up to 3 days. They can also be refrigerated for up to 1 week. To reheat, microwave them for a few seconds to bring back the fudgy texture.
FAQs
Can I make these brownies ahead of time?
Yes, you can make them a day ahead of time. Just store them in an airtight container, and they will still be delicious the next day.
Can I use a different size pan?
If you use a larger pan, your brownies will be thinner and may require a shorter baking time. If you use a smaller pan, your brownies may need a few extra minutes to bake. Keep an eye on them and use the toothpick test to check for doneness.
Can I freeze these brownies?
Yes, you can freeze them! Allow the brownies to cool completely, then wrap them tightly in plastic wrap and foil. Store them in an airtight container or freezer bag for up to 3 months. To thaw, leave them at room temperature for a few hours.
Can I use a different type of food coloring?
Yes, you can use gel food coloring for a more intense color or even natural food coloring alternatives, though the final color may vary.
Conclusion
These Red Velvet Cheesecake Brownies are the perfect blend of rich, fudgy brownies and creamy, tangy cheesecake. The striking red color and marbled swirls make them an impressive and delicious dessert, perfect for holidays, celebrations, or anytime you want to treat yourself. Sweet, tangy, and indulgent, these brownies will quickly become a favorite in your dessert rotation!
Print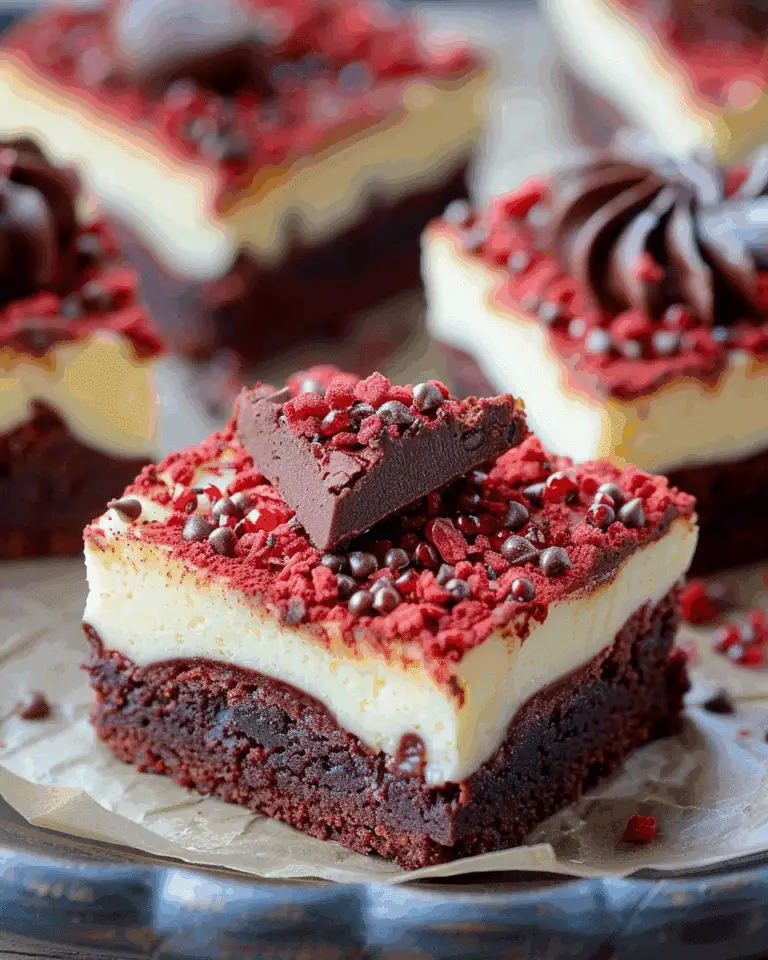
Red Velvet Cheesecake Brownies – Swirled, Fudgy, and Absolutely Irresistible
These Red Velvet Cheesecake Brownies are a decadent combination of rich, fudgy red velvet brownies and a creamy cheesecake swirl. The tangy cheesecake balances the sweet chocolatey base, and the vibrant red color and marbled swirls make them a visually stunning and irresistible treat.
- Total Time: 45-50 minutes
- Yield: 9-12 brownies
Ingredients
1/2 cup (1 stick) unsalted butter, melted
1 cup granulated sugar
1/4 cup unsweetened cocoa powder
1 tablespoon red food coloring
1 teaspoon vanilla extract
1/2 teaspoon white vinegar
2 large eggs
3/4 cup all-purpose flour
Pinch of salt
8 oz cream cheese, softened
1/3 cup granulated sugar
1 egg yolk
1/2 teaspoon vanilla extract
Instructions
- Preheat your oven to 350°F (175°C). Grease and line an 8×8-inch square baking pan with parchment paper.
- In a large mixing bowl, whisk together the melted butter and sugar until smooth. Add cocoa powder, red food coloring, and vanilla extract, stirring to combine.
- Add eggs one at a time, beating well after each addition. Stir in white vinegar and a pinch of salt. Finally, fold in the flour until just combined.
- In a separate bowl, beat the cream cheese and sugar until smooth. Add the egg yolk and vanilla extract and mix until well incorporated.
- Pour the brownie batter into the prepared pan. Spoon dollops of the cheesecake mixture on top and use a knife to swirl the cheesecake into the brownie batter, creating a marbled effect.
- Bake for 30-35 minutes, or until a toothpick inserted into the center comes out with just a few moist crumbs. Be careful not to overbake.
- Cool completely in the pan before slicing into squares. Let the brownies sit for at least an hour for the best texture and flavor.
Notes
Adjust the amount of food coloring based on how vibrant you want the red velvet to appear. For a more natural option, beet juice or powder can be used.
Ensure the cream cheese mixture is smooth to avoid lumps in the cheesecake layer.
Let the brownies cool completely before slicing to allow the cheesecake swirl to set properly.
- Prep Time: 15 minutes
- Cook Time: 30-35 minutes
- Category: Dessert
- Method: Baking
- Cuisine: American
- Diet: Vegetarian
Nutrition
- Serving Size: 1 brownie
- Calories: 320
- Sugar: 28g
- Sodium: 180mg
- Fat: 18g
- Saturated Fat: 9g
- Unsaturated Fat: 7g
- Trans Fat: 0g
- Carbohydrates: 37g
- Fiber: 2g
- Protein: 3g
- Cholesterol: 50mg

