There is something incredibly satisfying about a dessert that combines creamy textures with irresistible crunch, and the No-Bake Crunchie Cheesecake Recipe hits that sweet spot perfectly. This delightful cheesecake layers a smooth, chocolate-infused cream cheese filling with chunks of honeycomb Crunchie bars, all set atop a buttery biscuit base. It’s a sensational, fuss-free dessert that feels both decadent and playful — perfect for when you want to impress without spending hours in the kitchen.
Ingredients You’ll Need
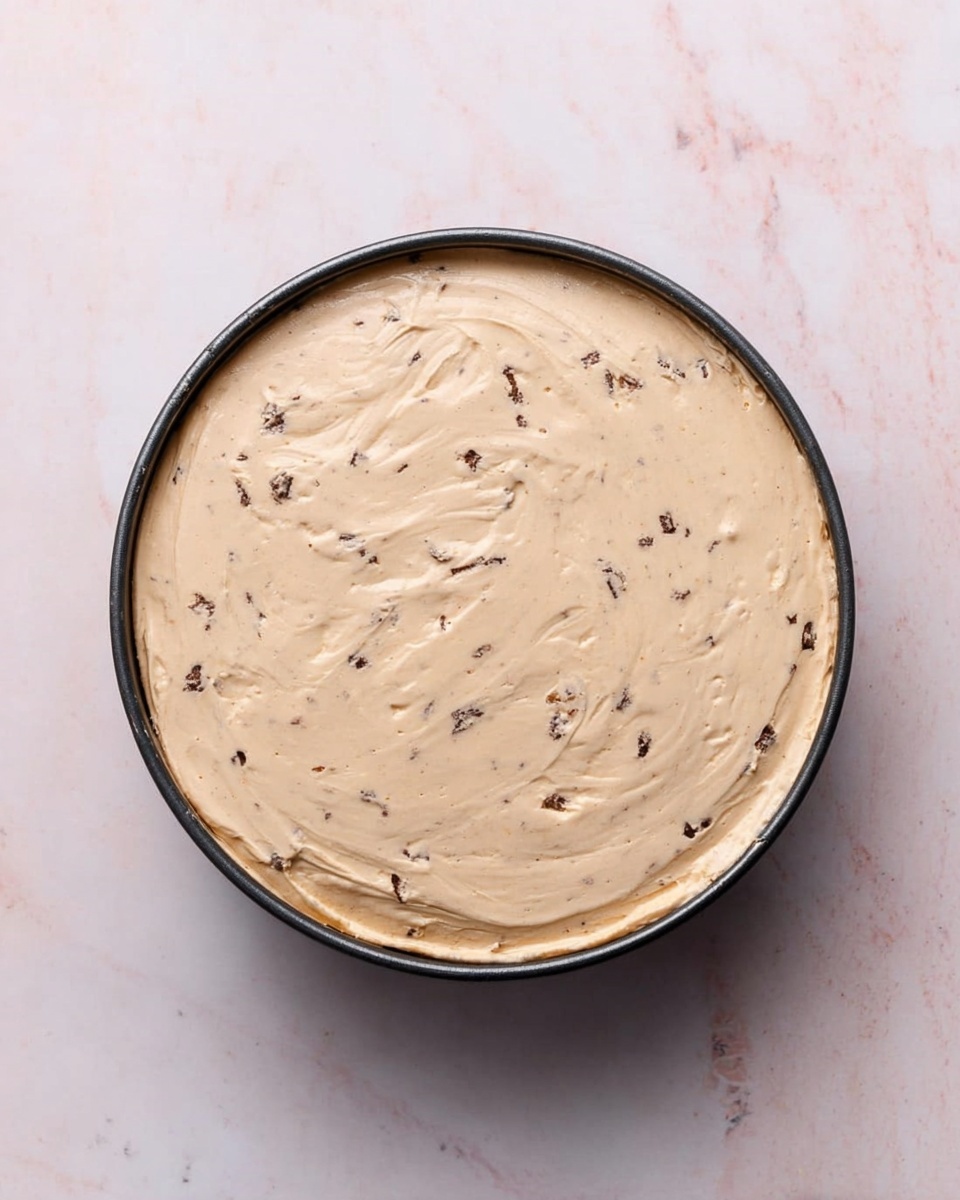
The beauty of this recipe lies in its simplicity and how each ingredient plays an essential role to create the perfect balance of flavors and textures. From the crunchy biscuit base to the luscious cream cheese filling with bursts of caramel honeycomb, every component is carefully chosen to craft a cheesecake that is sure to wow.
- Lotus Biscoff biscuits (250g, crushed): These spiced biscuits create a crisp, fragrant base that holds everything together with a hint of caramelized flavor.
- Unsalted butter (100g, melted): Butter binds the biscuit crumbs and adds richness to the crust.
- Full-fat cream cheese (520g): The foundation of the filling, creating a rich and creamy texture that feels indulgent.
- Icing sugar (125g): Adds just the right amount of sweetness to balance the tartness of the cream cheese.
- Milk chocolate (180g, melted): Brings a smooth, sweet chocolate flavor that pairs beautifully with the honeycomb crunch.
- Double cream (300ml): Whipped into the filling, it lightens the texture making the cheesecake delightfully fluffy.
- Crunchie bars (approx 6 bars, chopped, 200g for filling + 200g for topping): The star ingredient, these crunchy honeycomb pieces are folded through the filling and sprinkled on top for that magical crunch.
How to Make No-Bake Crunchie Cheesecake Recipe
Step 1: Prepare the base
Start by crushing the Lotus Biscoff biscuits finely — you want a coarse sand-like texture that will pack well. Combine the crushed biscuits with the melted unsalted butter, stirring until every crumb is coated. Press this mixture firmly into the base of a springform tin to create an even, compact crust that will support your luxurious filling.
Step 2: Whip the cream cheese filling
In a large bowl, beat the full-fat cream cheese and icing sugar together until smooth and creamy. Then, fold in the melted milk chocolate carefully to maintain a silky texture. Whip the double cream separately until it forms soft peaks, and gently fold it into the cream cheese mixture. This step aerates the filling, giving your cheesecake a light yet dense richness.
Step 3: Add the Crunchie bars
Chop the Crunchie bars into bite-sized chunks and gently fold 200g of these into the cream cheese mixture. The pieces will add bursts of honeycomb sweetness and a satisfying crunch amid the creamy filling, making this cheesecake truly special.
Step 4: Assemble and chill
Pour the filling over the biscuit base and spread it evenly. Scatter the remaining 200g of chopped Crunchie bars on top as a delightful topping that signals the crunchy surprise inside. Pop the cheesecake into the fridge for at least 4 hours, or ideally overnight, to set firmly so every slice holds together beautifully.
How to Serve No-Bake Crunchie Cheesecake Recipe
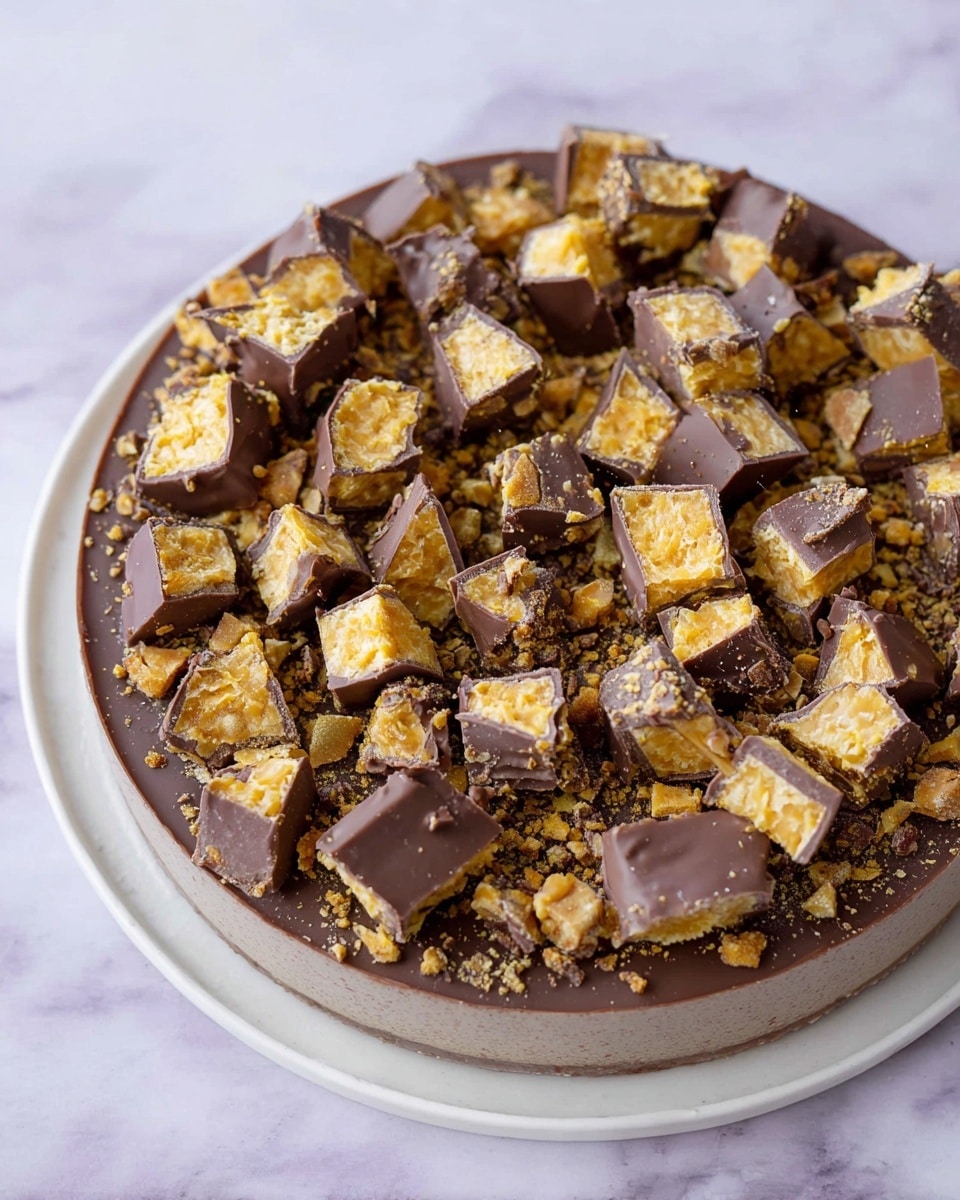
Garnishes
A simple dusting of cocoa powder or a drizzle of melted chocolate can elevate presentation with minimal effort. Fresh raspberries or a sprig of mint add a pop of color and a refreshing contrast to the richness.
Side Dishes
Serve slices alongside lightly whipped cream or a scoop of vanilla ice cream for extra indulgence. A cup of strong coffee or tea complements the caramel and chocolate notes wonderfully, making the perfect pairing to this dessert.
Creative Ways to Present
You can turn this cheesecake into individual portions by assembling it in small glass jars or clear cups, layering the base, filling, and Crunchie bits for a visually stunning treat. For larger gatherings, decorate the top with whole Crunchie chunks and a sprinkle of crushed biscuits to hint at the layers within.
Make Ahead and Storage
Storing Leftovers
Keep the No-Bake Crunchie Cheesecake refrigerated in an airtight container to maintain its texture and freshness. It will stay good for up to 3 days, giving you time to enjoy the deliciousness without any rush.
Freezing
This cheesecake freezes well if you want to prepare in advance. Wrap tightly in plastic wrap and foil to prevent freezer burn, and thaw overnight in the fridge before serving. Note that the Crunchie pieces might soften slightly after freezing but still provide great flavor.
Reheating
Since this is a no-bake cheesecake, reheating is not recommended as it can affect texture. It is best served cold straight from the fridge or after thawing to enjoy that creamy, crunchy consistency.
FAQs
Can I use other chocolate bars instead of Crunchie?
Absolutely! While Crunchie bars provide a unique honeycomb crunch, you can experiment with other honeycomb or toffee-filled chocolates to customize the texture and flavor to your liking.
Is it possible to make a gluten-free version?
Yes, simply swap the Lotus Biscoff biscuits for gluten-free digestive biscuits or another gluten-free cookie base. Ensure your chocolate and Crunchie bars are also gluten-free to keep the cheesecake safe for sensitive eaters.
How long does it take to set properly in the fridge?
For the cheesecake to set firmly, it’s best to chill it for at least 4 hours. Overnight chilling is ideal, especially if you want clean, perfect slices.
Can I prepare this cheesecake without a springform tin?
A springform tin helps create neat edges, but if you don’t have one, you can use a regular cake pan lined with parchment paper. Just be gentle when removing the cheesecake to keep it intact.
What is the best way to chop the Crunchie bars?
Use a sharp knife and chop gently so the crunchy honeycomb doesn’t crumble too much. Aim for medium-sized pieces to maximize that delightful crunch in every bite.
Final Thoughts
This No-Bake Crunchie Cheesecake Recipe is such a gem for anyone who loves rich, creamy textures paired with irresistible honeycomb crunch. It’s the kind of dessert that instantly becomes a favorite at family dinners, parties, or any occasion when you want to impress without complicated baking. I truly hope you give it a try and enjoy every bite as much as I do!
Print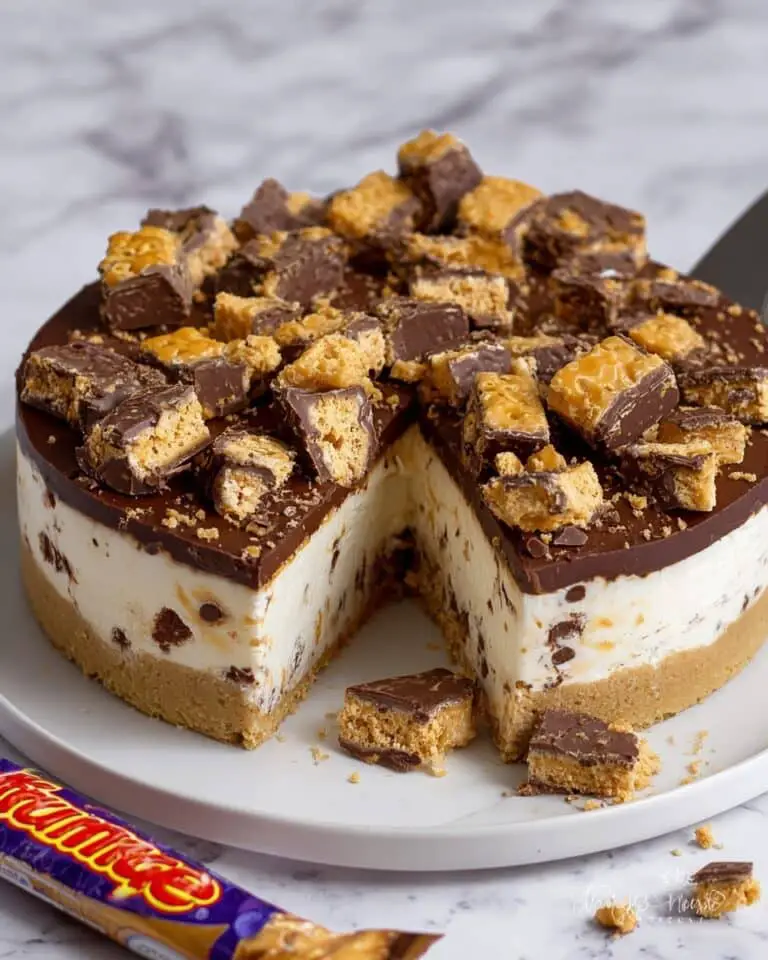
No-Bake Crunchie Cheesecake Recipe
This decadent No-Bake Crunchie Cheesecake combines a crunchy Lotus Biscoff biscuit base with a silky, milk chocolate-infused cream cheese filling studded with crunchy honeycomb Crunchie bars. Topped with additional chopped Crunchie bars, this effortless cheesecake is a perfect indulgent dessert that requires no oven and comes together with simple mixing and chilling.
- Total Time: 4 hours 20 minutes (including chilling time)
- Yield: 8 servings
Ingredients
For the base
- 250g (1 packet) Lotus Biscoff biscuits, crushed
- 100g (0.25 cup + 3 tbsp) unsalted butter, melted
For the cheesecake filling
- 520g (2.25 cups) full-fat cream cheese
- 125g (0.75 cup + 2 tbsp) icing sugar
- 180g (1 cup) milk chocolate, melted
- 300ml (1.25 cups) double cream
- 200g (approx 6 bars) Crunchie bars, chopped
For topping
- 200g (approx 6 bars) Crunchie bars, chopped
Instructions
- Prepare the base: Crush the Lotus Biscoff biscuits finely and combine them with the melted unsalted butter, ensuring the mixture is evenly coated. Press this mixture firmly and evenly into the base of a 23cm (9-inch) springform cake tin to form the cheesecake base. Chill in the fridge while preparing the filling.
- Make the filling: In a large bowl, beat the full-fat cream cheese with the icing sugar until smooth and creamy. Gradually stir in the melted milk chocolate until fully incorporated for a rich flavor.
- Whip the cream: In a separate bowl, whip the double cream until soft peaks form. Gently fold the whipped cream into the chocolate cream cheese mixture to keep the filling light and airy.
- Add Crunchie bars: Fold in the chopped Crunchie bars into the cheesecake mixture. Be careful not to crush them too much to maintain their crunchy texture within the filling.
- Assemble and chill: Spoon the filling over the chilled biscuit base in the tin, smoothing the surface with a spatula. Scatter the remaining chopped Crunchie bars evenly over the top as a crunchy topping. Cover with cling film and refrigerate for at least 4 hours or overnight to set properly.
- Serve: Once fully set, remove the cheesecake from the springform tin. Slice and serve chilled for a deliciously crunchy, creamy dessert.
Notes
- Use full-fat cream cheese for the creamiest texture and best flavor.
- Ensure the crushed biscuits and butter are pressed firmly to create a stable base.
- Gently fold whipped cream to keep the filling light and fluffy without deflating it.
- Chilling time is important for the cheesecake to set fully; overnight is ideal for best results.
- Store leftovers in the refrigerator covered for up to 3 days.
- Prep Time: 20 minutes
- Cook Time: 0 minutes
- Category: Dessert
- Method: No-Cook
- Cuisine: British

