If you’re on the hunt for a delightful treat that is as much fun to make as it is to eat, the Colorful Slice and Bake Cookies Recipe is exactly what you need. This charming cookie recipe invites you to mix vibrant colors into a tender, buttery dough that bakes into perfect slices every time. With a few simple ingredients and quick steps, you can create a batch of cookies that not only taste heavenly but also brighten up your cookie jar with a pop of joyful color. It’s a nostalgic yet playful take on a classic cookie style that’s sure to become one of your favorites.
Ingredients You’ll Need
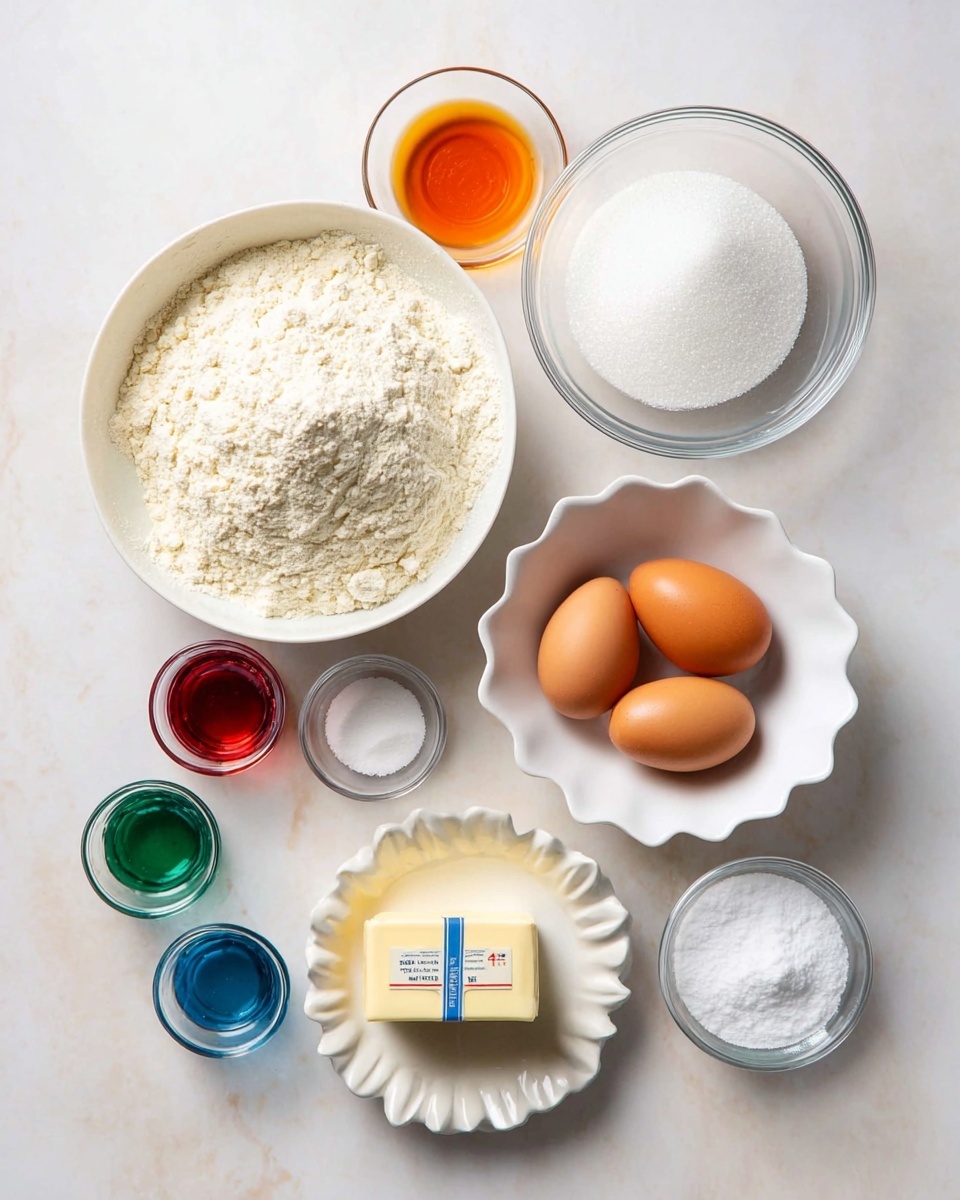
These ingredients are wonderfully straightforward but essential to achieving the perfect balance of flavor, texture, and that irresistible burst of color. Each one adds something special: from the rich butter that provides tenderness, to the flour which creates structure, and the eggs that bring it all together.
- 2 ½ cups all purpose flour (spooned and leveled): The base of your cookies, it ensures a soft yet sturdy dough perfect for slicing.
- 1 cup granulated sugar: Adds sweetness and a slight crunch when baked.
- ¾ cups unsalted butter, softened to room temperature: Gives richness and melt-in-your-mouth texture.
- 2 large eggs: Bind the dough and contribute to the cookie’s chewy softness.
- 1 teaspoon baking powder: Helps your cookies rise just enough, keeping them light and tender.
- 1 teaspoon vanilla extract: Brings warm, aromatic flavor that enhances every bite.
- ½ teaspoon kosher salt: Balances sweetness and brightens flavor overall.
- A few drops of food coloring (gel or natural): The fun factor—adds vibrant, festive hues to your cookies.
How to Make Colorful Slice and Bake Cookies Recipe
Step 1: Cream the Butter and Sugar
Start by beating the softened butter and granulated sugar together until the mixture is light, fluffy, and pale in color. This step is key to ensuring your cookies have that tender crumb and melt-in-your-mouth feel everyone loves.
Step 2: Add Eggs and Vanilla
Beat in the eggs, one at a time, along with the vanilla extract. This will create a smooth, creamy base for your dough that aromas like heaven in the making.
Step 3: Combine Dry Ingredients
Mix the all purpose flour, baking powder, and kosher salt in a separate bowl. Gradually add this to your wet ingredients, mixing until just combined. Overmixing at this stage can make the cookies tough, so go easy!
Step 4: Divide and Color the Dough
Now for the exciting part: separate the dough into several portions depending on how many colors you want. Add a few drops of food coloring to each portion and knead gently until the color is evenly distributed. This is where your cookies start to show personality so don’t hold back!
Step 5: Shape and Chill
Roll each colored dough portion into a log shape, then wrap tightly with plastic wrap. Refrigerate for at least an hour, or until firm enough to slice cleanly.
Step 6: Slice and Bake
Preheat your oven to 350°F (175°C). Slice the chilled dough logs into even ¼-inch thick slices and place them on a parchment-lined baking sheet. Bake for about 10-12 minutes, or until edges are just starting to turn golden. The aroma and colorful edges will be your cue that they’re ready!
How to Serve Colorful Slice and Bake Cookies Recipe

Garnishes
If you want to dress up your cookies for a party, try adding a light dusting of powdered sugar or a drizzle of melted white chocolate. Sprinkling some edible glitter or tiny sugar pearls on top before baking can also give these colorful cookies an extra wow factor.
Side Dishes
These cookies pair beautifully with a creamy cup of hot cocoa, a frothy cappuccino, or even a glass of cold milk. The balance of warmth and sweetness will complement the cookies’ buttery richness perfectly during any snack time or gathering.
Creative Ways to Present
Try stacking these cookies in a clear jar or arranging them on a decorative plate in a rainbow pattern. Wrapping a few slices with a bright ribbon makes a charming homemade gift. You can also use the colorful slices as edible decorations on cupcakes or cakes for a playful treat display.
Make Ahead and Storage
Storing Leftovers
Keep any leftover cookies in an airtight container at room temperature for up to a week to maintain their freshness and colorful charm. Placing a piece of bread in the container can help keep them soft with no extra effort.
Freezing
You can freeze the unbaked dough logs wrapped tightly in plastic wrap for up to 3 months. When ready to bake, just thaw in the refrigerator overnight and slice as usual. For baked cookies, freeze them in a sealed bag or container for similar longevity.
Reheating
If you want to enjoy your cookies warm, pop them in a preheated oven at 300°F (150°C) for about 5 minutes or microwave individually for 10-15 seconds. This brings back that freshly baked softness and boosts flavor wonderfully.
FAQs
Can I use natural food coloring for this recipe?
Absolutely! Natural food colorings, like beet juice or spirulina powder, work wonderfully and give you beautiful shades with no artificial additives.
How thick should I slice the dough before baking?
Slicing about ¼-inch thick gives you the best balance between crisp edges and chewy centers, but feel free to adjust slightly based on your preference.
Can I add mix-ins like chocolate chips or nuts?
While traditional slice and bake cookies keep it simple, you can certainly fold in small amounts of chocolate chips or finely chopped nuts to customize your batch.
What if my dough is too soft to slice?
Just refrigerate it a bit longer! Firm dough slices more cleanly and keeps the cookie shape intact in the oven.
Is this recipe suitable for kids to help with?
Definitely! Kids love rolling, coloring, and slicing the dough. It’s a fun, hands-on baking project that’s perfect for family time.
Final Thoughts
The Colorful Slice and Bake Cookies Recipe is a wonderful way to bring both creativity and classic flavor into your kitchen without any fuss. It’s a versatile recipe that encourages playful colors and simple ingredients resulting in irresistibly tasty treats. I can’t wait for you to try it out and watch these vibrant cookies become an instant favorite among your friends and family!
Print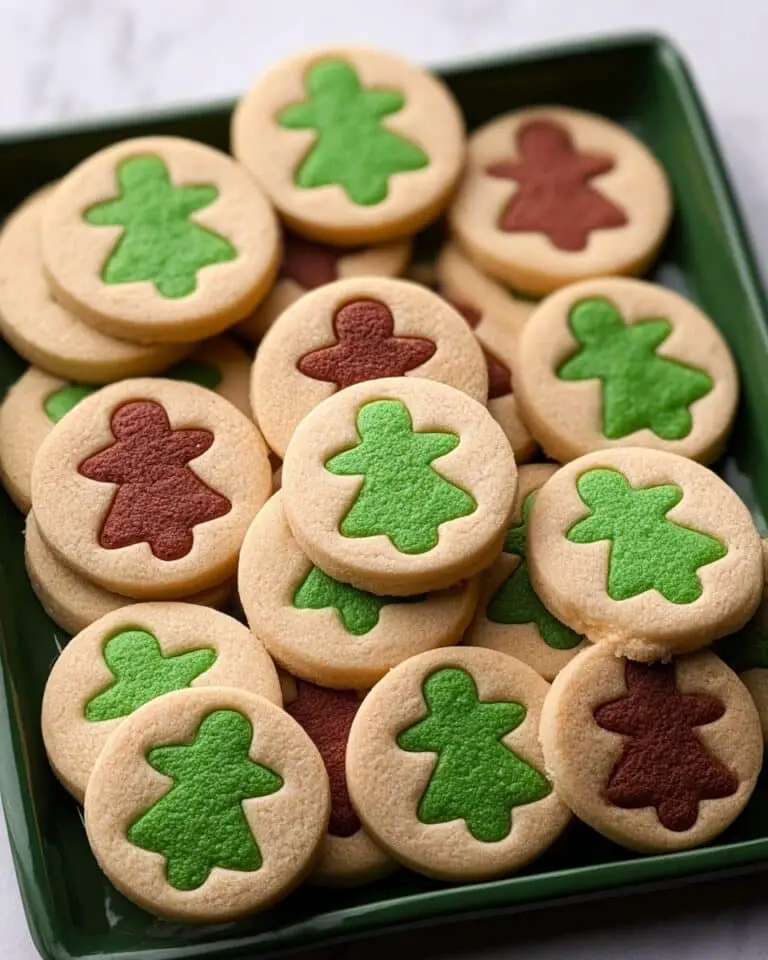
Colorful Slice and Bake Cookies Recipe
These Slice and Bake Cookies are a classic, easy-to-make treat perfect for any occasion. The dough is simple to prepare, chilled, sliced, and baked to create buttery, flavorful cookies with a crisp edge and soft center. Customize with food coloring for a fun pop of color, making these cookies ideal for holidays, parties, or everyday snacking.
- Total Time: 1 hour 27 minutes
- Yield: About 24-30 cookies
Ingredients
Dry Ingredients
- 2 ½ cups all-purpose flour (spooned and leveled)
- 1 teaspoon baking powder
- ½ teaspoon kosher salt
Wet Ingredients
- ¾ cup unsalted butter, softened to room temperature
- 1 cup granulated sugar
- 2 large eggs
- 1 teaspoon vanilla extract
Optional
- A few drops of food coloring (gel or natural)
Instructions
- Prepare the dough: In a large mixing bowl, cream the softened butter and granulated sugar together until light and fluffy using an electric mixer or by hand. Add the eggs one at a time, beating well after each addition. Stir in vanilla extract.
- Mix dry ingredients: In a separate bowl, whisk together the all-purpose flour, baking powder, and kosher salt to evenly distribute the leavening and salt.
- Combine wet and dry ingredients: Gradually add the dry ingredients to the wet mixture, mixing until a smooth dough forms. If desired, divide the dough and add a few drops of food coloring to create colorful cookies, kneading the dough until the color is evenly incorporated.
- Form the dough logs: Shape the dough into one or two logs, about 2 inches in diameter, wrapping them tightly in plastic wrap. Chill the logs in the refrigerator for at least 1 hour or until firm. This chilling step is essential to make slicing easier and to help the cookies hold their shape while baking.
- Preheat the oven and slice: When ready to bake, preheat your oven to 350°F (175°C). Remove the chilled dough logs from the fridge and unwrap. Using a sharp knife, slice the logs into ¼-inch thick rounds and place them spaced evenly on a baking sheet lined with parchment paper or a silicone baking mat.
- Bake the cookies: Bake in the preheated oven for 10-12 minutes or until the edges are lightly golden. Avoid overbaking to keep the centers tender.
- Cool and serve: Allow the cookies to cool on the baking sheet for 5 minutes before transferring them to a wire rack to cool completely. Store in an airtight container at room temperature to maintain freshness.
Notes
- Chilling the dough is crucial for clean slices and to prevent spreading during baking.
- Use room temperature butter and eggs for better mixing and texture.
- Food coloring is optional but adds a festive touch to the cookies.
- For a flavor twist, consider adding lemon zest, almond extract, or mini chocolate chips.
- Ensure slices are even thickness for uniform baking.
- These cookies can be stored for up to one week in an airtight container.
- Prep Time: 15 minutes
- Cook Time: 12 minutes
- Category: Dessert
- Method: Baking
- Cuisine: American
- Diet: Vegetarian

