If you have ever dreamed of a dessert that perfectly balances tart cherries, crunchy pistachios, and the creamy dreaminess of cheesecake, then you’re about to fall head over heels for this Cherry Pistachio Cheesecake – A Luscious Dessert Recipe. It’s the kind of treat that feels luxurious yet is surprisingly approachable. Each bite is a harmonious blend of textures and flavors—think buttery crust layered with nutty pistachios, smooth filling with a subtle pistachio twist, and a glossy cherry topping that adds just the right amount of sweetness and color. Trust me, this dessert will quickly become one of your go-to showstoppers for gatherings or any time you want to indulge a little.
Ingredients You’ll Need
The magic of this Cherry Pistachio Cheesecake – A Luscious Dessert Recipe starts with a few simple, thoughtfully chosen ingredients. Each one plays a vital role in delivering the perfect balance of texture, flavor, and color, making the final dessert a feast for the senses.
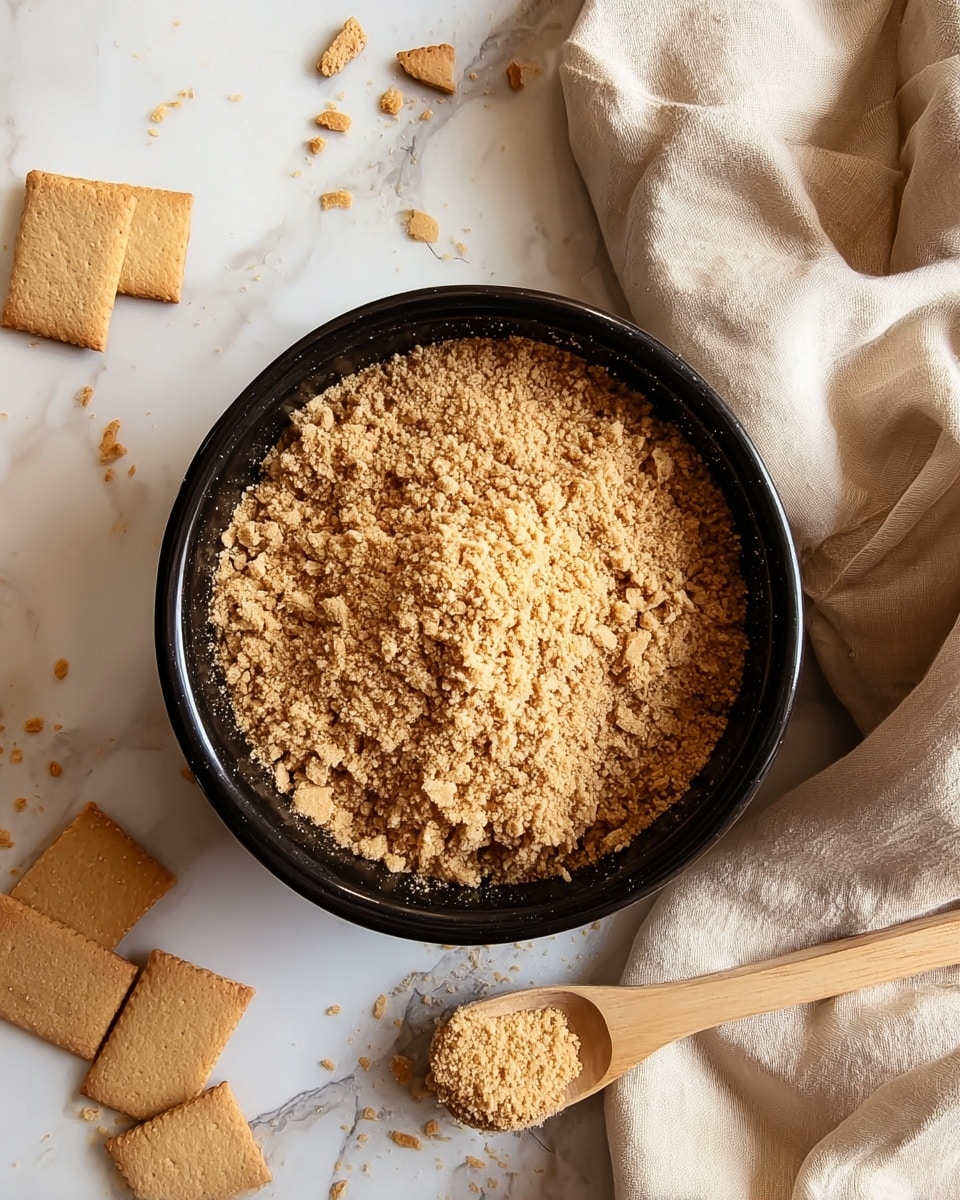
- Graham cracker crumbs: The base for our crust providing a buttery, slightly sweet foundation.
- Ground pistachios: Adds a delightful nutty flavor and a hint of color to the crust.
- Sugar: Sweetens both the crust and the filling perfectly without overwhelming.
- Melted butter: Binds the crust together while adding rich flavor.
- Cream cheese: The star of the filling, responsible for that classic creamy cheesecake texture.
- Eggs: Help set the filling to the perfect consistency.
- Sour cream: Adds tang and smoothness to balance the cheesecake’s richness.
- Pistachio pudding mix (dry powder): Infuses the filling with a subtle pistachio taste and extra creaminess.
- Vanilla extract: Enhances all the flavors with its warm, aromatic notes.
- Cherry pie filling: The crowning jewel, bringing vivid color and a sweet-tart finish.
- Optional extra chopped pistachios: For an elegant crunchy garnish.
How to Make Cherry Pistachio Cheesecake – A Luscious Dessert Recipe
Step 1: Prepare the crust
Begin by combining the graham cracker crumbs, ground pistachios, and sugar in a mixing bowl. Pour in the melted butter and stir until the mixture feels like damp sand. Press this lovely mixture firmly into the bottom of a springform pan, creating an even layer that will support the cheesecake filling beautifully. Chill this crust for at least 15 minutes to help it set up before adding the filling.
Step 2: Mix the filling
In a large mixing bowl, beat the softened cream cheese until silky smooth. Gradually add the sugar and continue to beat until fully incorporated. Next, beat in the eggs one at a time, ensuring each is fully mixed before adding the next. Stir in the sour cream, pistachio pudding mix, and vanilla extract until the filling is luxuriously smooth and fluffy.
Step 3: Assemble and bake
Pour the luscious filling over the chilled crust, spreading it evenly with a spatula. Bake the cheesecake at 325°F (163°C) for about 50 to 60 minutes, or until the edges are set and the center jiggles ever so slightly when you gently shake the pan. This subtle wobble means the cheesecake will set perfectly as it cools. Let it cool completely on a wire rack before moving on to the topping.
Step 4: Add the cherry topping
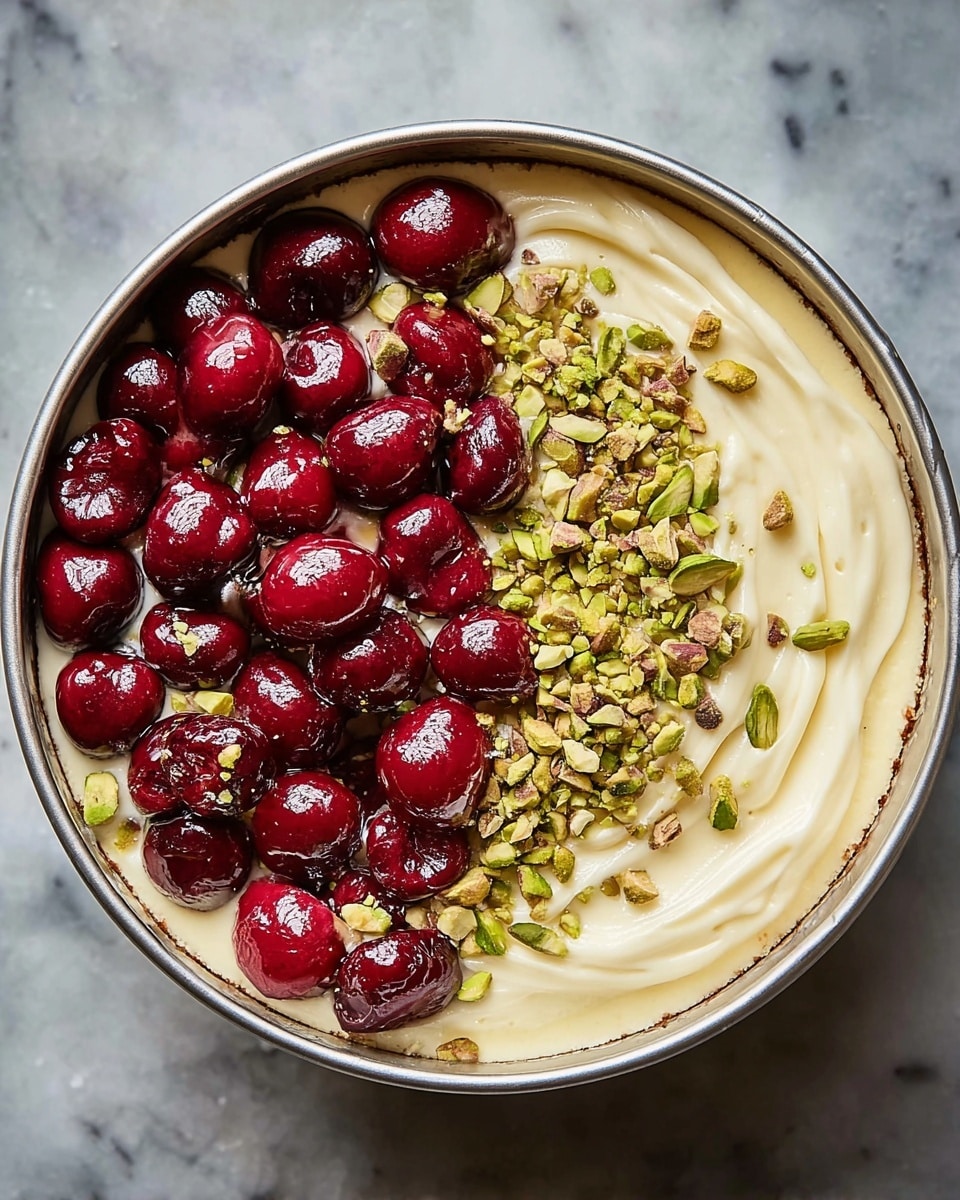
Once the cheesecake has cooled, spoon the cherry pie filling over the top in a thick, even layer. If you’re feeling fancy, sprinkle on some chopped pistachios to add a fresh crunch and beautiful contrast in color. Chill the entire cheesecake for at least 4 hours, or overnight, to let all the flavors meld and the texture firm up.
How to Serve Cherry Pistachio Cheesecake – A Luscious Dessert Recipe
Garnishes
A simple dusting of powdered sugar or a few whole fresh cherries on top instantly elevates the look. Adding extra chopped pistachios not only adds visual appeal but also a crunch that contrasts beautifully with the creamy filling. These small touches make your cheesecake feel like a truly special experience.
Side Dishes
This dessert pairs wonderfully with a dollop of freshly whipped cream or a scoop of vanilla bean ice cream. The cold creaminess of the ice cream complements the richness of the cheesecake and cuts through the sweetness of the cherry topping, making every bite perfectly balanced.
Creative Ways to Present
Try serving individual portions in clear glasses layered with extra cherries and crushed pistachios for a stunning parfait effect. Alternatively, make mini cheesecakes in muffin tins for a fun, bite-sized treat that’s perfect for parties and gatherings. Presentation can really highlight how special the Cherry Pistachio Cheesecake – A Luscious Dessert Recipe truly is.
Make Ahead and Storage
Storing Leftovers
Wrap any leftover cheesecake tightly with plastic wrap or place it in an airtight container. Stored in the refrigerator, it will stay fresh and creamy for up to 5 days. This makes it a perfect dessert to prepare ahead of time or to enjoy throughout the week.
Freezing
If you want to save your Cherry Pistachio Cheesecake – A Luscious Dessert Recipe for later, it freezes beautifully. Wrap the whole cheesecake or individual slices in plastic wrap and then foil to prevent freezer burn. It will keep its delightful flavor and texture for up to 2 months when frozen properly.
Reheating
Cheesecake is best enjoyed chilled, so there’s usually no need to reheat. However, if you prefer it slightly softer, allow slices to come to room temperature for 15 to 20 minutes before serving. This gentle warming lets the flavors shine without compromising the texture.
FAQs
Can I use fresh cherries instead of canned cherry pie filling?
Absolutely! Fresh cherries can make this cheesecake even more vibrant and fresh-tasting. Simply cook them down with a little sugar and cornstarch until thickened, then use as you would the pie filling. This will give your cheesecake a homemade touch that’s equally delicious.
Is it necessary to use pistachio pudding mix?
The pistachio pudding mix is what gives the cheesecake its signature subtle pistachio flavor and wonderful creaminess. If you can’t find it, you can substitute with finely ground pistachios and a little extra vanilla, but the flavor might not be as pronounced.
Can I make this recipe gluten-free?
Yes! You can substitute the graham cracker crumbs with a gluten-free cracker or cookie crumb like gluten-free graham crackers or crushed almond cookies. Just double-check the pistachio pudding mix to ensure it’s gluten-free as well.
How do I prevent cracks in my cheesecake?
To avoid cracks, be sure not to overbeat the batter, and bake the cheesecake at a relatively low temperature. Using a water bath during baking can also help create a moist environment that prevents cracking. Cooling the cheesecake gradually and not rushing the process makes a big difference.
Can I make mini cheesecakes with this recipe?
Definitely! This recipe scales down beautifully. Use a muffin pan with paper liners or silicone molds to create individual mini cheesecakes. Adjust the baking time to about 20-25 minutes, checking for the same slight wobble in the center.
Final Thoughts
There is something truly special about the Cherry Pistachio Cheesecake – A Luscious Dessert Recipe that makes it a standout dessert worthy of any occasion. With its incredible balance of flavors and textures, it’s the kind of recipe that invites you to slow down and savor every bite. I can’t encourage you enough to try making it yourself – once you do, it’s sure to become a beloved favorite in your recipe collection.
Print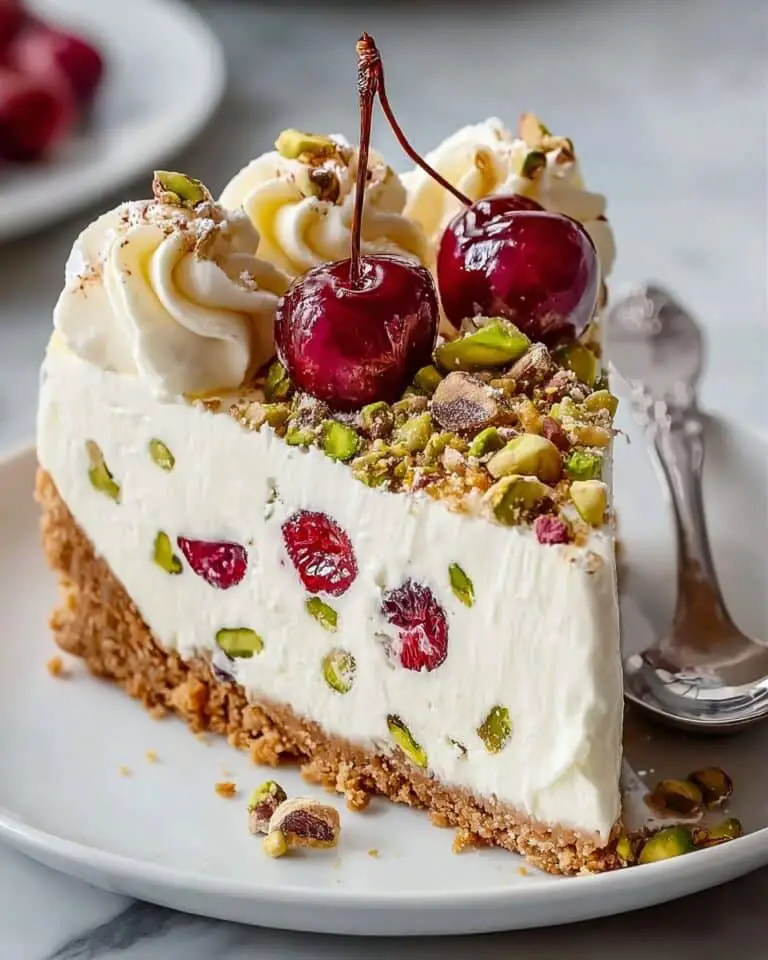
Cherry Pistachio Cheesecake – A Luscious Dessert Recipe
This Cherry Pistachio Cheesecake combines a crunchy pistachio-infused graham cracker crust with a creamy, rich pistachio pudding-flavored cheesecake filling, topped generously with vibrant cherry pie filling and optional chopped pistachios for an extra nutty crunch. Perfectly balanced between nutty, sweet, and tart flavors, this luscious dessert offers a delightful twist on a classic cheesecake.
- Total Time: 5 hours 15 minutes
- Yield: 8-10 servings
Ingredients
For the Crust
- 1½ cups graham cracker crumbs
- ¼ cup ground pistachios
- 3 tbsp sugar
- 5 tbsp melted butter
For the Filling
- 16 oz cream cheese, softened
- ½ cup sugar
- 2 large eggs
- ½ cup sour cream
- ¼ cup pistachio pudding mix (dry powder)
- 1 tsp vanilla extract
For the Topping
- 1 can (21 oz) cherry pie filling
- Optional: extra chopped pistachios for garnish
Instructions
- Prepare the crust. In a bowl, combine graham cracker crumbs, ground pistachios, and sugar. Stir in melted butter until the mixture resembles wet sand. Press this mixture firmly and evenly into the bottom of a springform pan to form the crust. Place it in the refrigerator to chill while you prepare the filling.
- Make the filling. In a large mixing bowl, beat the softened cream cheese with sugar until smooth and creamy. Add eggs one at a time, beating well after each addition. Mix in sour cream, pistachio pudding mix, and vanilla extract until fully incorporated and the mixture is smooth.
- Assemble and bake the cheesecake. Pour the cheesecake filling over the prepared crust in the springform pan, spreading it evenly. Bake in a preheated oven at 325°F (163°C) for about 50-60 minutes or until the edges are set and the center slightly jiggles when shaken gently.
- Cool the cheesecake. Remove the cheesecake from the oven and let it cool to room temperature. Then refrigerate for at least 4 hours, preferably overnight, to allow the cheesecake to fully set and flavors to meld.
- Add the topping and garnish. Just before serving, spread the cherry pie filling evenly over the chilled cheesecake. Sprinkle with extra chopped pistachios if desired to add texture and enhance the presentation.
Notes
- Ensure the cream cheese is softened to room temperature to avoid lumps in the filling.
- You can substitute the pistachio pudding mix with homemade pistachio paste if desired for a fresher taste.
- Use a water bath during baking to prevent cracking if preferred.
- Letting the cheesecake chill overnight yields the best texture and flavor development.
- For a gluten-free version, substitute graham cracker crumbs with gluten-free crackers.
- Prep Time: 20 minutes
- Cook Time: 55 minutes
- Category: Dessert
- Method: Baking
- Cuisine: American

